Although it may seem difficult, updating the BIOS (Basic Input/Output System) on your motherboard is a necessary maintenance procedure that can improve system stability, repair issues, and increase hardware compatibility. If you own a Gigabyte motherboard and want to know how to update the BIOS safely and efficiently, this detailed guide is for you.
We will discuss the different ways of how to upgrade your BIOS in the following, as well as precautions that need to be taken and what to do in case something does go wrong. When you have finished reading this blog, you will feel confident doing this upgrade yourself or know when to call in experts.
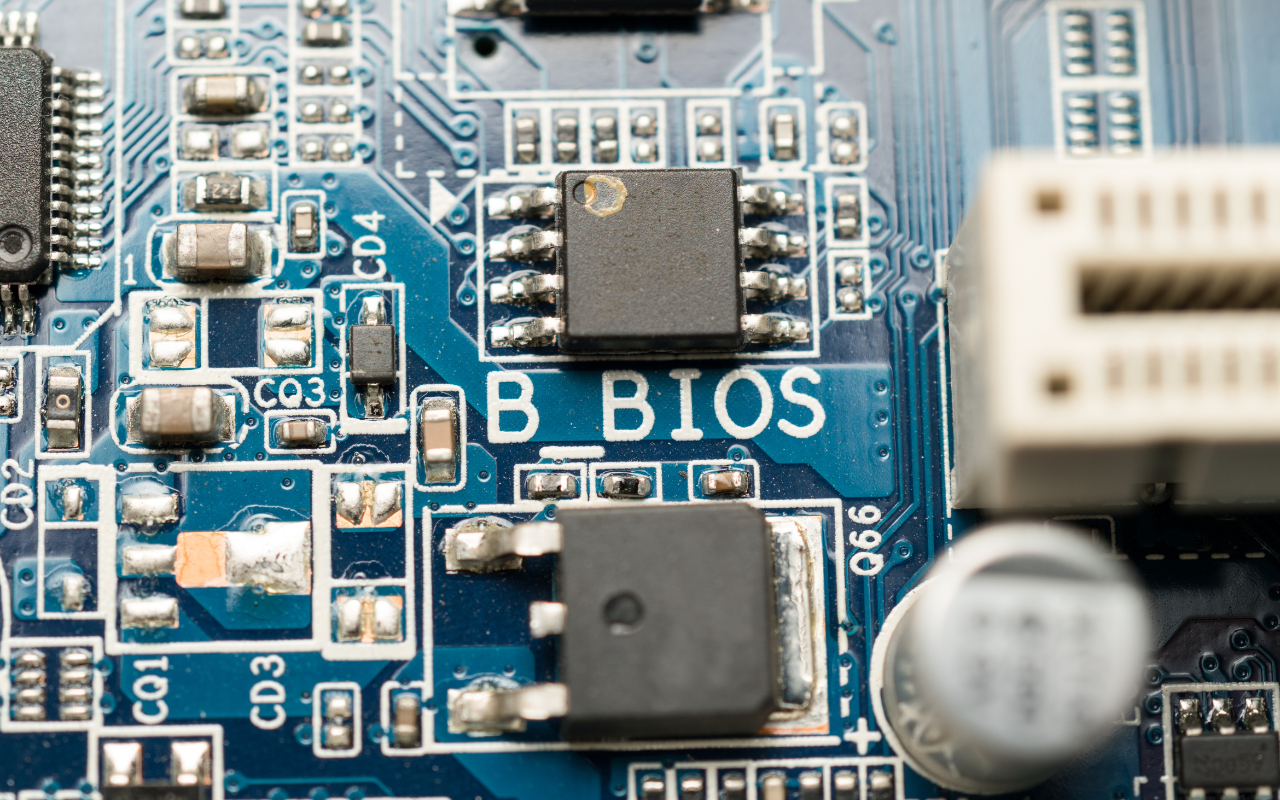
What is BIOS and Why Should You Update It?
The software that connects your operating system to your motherboard is BIOS. It controls low-level hardware options such as memory timings, CPU setup, and boot priority.
A BIOS update can:
- Improve system stability and performance
- Fix known bugs and compatibility issues
- Support new CPUs, RAM, and GPUs
- Address security vulnerabilities
However, BIOS updating differs from installing some other piece of software. Get it wrong, and your computer will not boot at all. That is why it is so critical you follow instructions and back up your data first.
Before You Begin: Safety Precautions
Here are a few critical steps to take before diving into a BIOS update:
- Backup your data. BIOS updates are generally safe but not immune to risks. Having a backup ensures you don’t lose important files in case of an error. (Need help? We offer Backup Solutions that can make this easy.)
- Check the current BIOS version. To do this, type msinfo32 into your Windows Start menu. Under “BIOS Version/Date”, you’ll find the version installed on your system.
- Visit the official Gigabyte website. Navigate to the support section for your specific motherboard model and download the latest BIOS version.
- Read the release notes. They often highlight changes and improvements, so you can decide if the update is worth it.

Method 1: Q-Flash (Recommended)
Gigabyte’s Q-Flash is an onboard utility that allows you to update your BIOS using a USB drive—no need for an operating system or special software.
Step-by-Step Guide:
- Prepare a USB drive. Format it to FAT32 and copy the BIOS file (usually ending in .Fxx) to the root directory.
- Restart your PC and enter BIOS. Press the DEL key during startup to access BIOS. From there, select the Q-Flash utility.
- Select “Update BIOS from Drive.” Choose the BIOS file on your USB and begin the update.
- Wait for the process to complete. Do not turn off your PC during this time! Your computer will automatically restart once it’s done.
Method 2: @BIOS (Windows Utility)
Gigabyte also offers a Windows-based utility called @BIOS for users who prefer updating within the OS. However, this method can be riskier if your system crashes or loses power during the update.
To use @BIOS:
- Download the @BIOS utility from the official Gigabyte website.
- Run the program and select “Update BIOS from Gigabyte Server.”
- Choose the latest BIOS version available.
- Follow the on-screen instructions and restart your system when prompted.
What to Do After Updating
Once the update is complete:
- Enter BIOS again to reconfigure your settings. BIOS resets everything to default.
- Enable XMP if you’re using high-performance RAM.
- Set your preferred boot device (especially important if you use multiple drives).
- Verify that your system boots normally into Windows.
If anything seems off—like slow startup times, incorrect hardware readings, or system instability—it may be worth revisiting your BIOS settings.

Common Problems and Troubleshooting
Despite best efforts, issues can arise. Here’s how to handle them:
1. System won’t boot
This is one of the most common BIOS update failures. Try resetting your CMOS using the jumper on the motherboard or by removing the battery for a few minutes.
2. Stuck at POST screen
This could indicate hardware incompatibility with the new BIOS version. In some cases, downgrading the BIOS can resolve the issue, though this must be done carefully.
3. Corrupted BIOS
Some Gigabyte motherboards feature Dual BIOS, which automatically loads the backup BIOS if the primary one fails. If not, professional intervention might be required.
Still Having Issues?
If you’re not comfortable updating your BIOS yourself, or if something goes wrong during the process, it’s always smart to get professional help.
At Choicetel, we specialize in BIOS troubleshooting and computer maintenance. With over 18 years of experience, we’re equipped to handle everything from BIOS recovery to hardware upgrades. Don’t let a failed update turn into a costly disaster—get expert support today.
Other Useful Topics You Might Be Interested In
While you’re tuning up your system, why not explore some of our other helpful guides?
- Experiencing frequent crashes? It might be time for a Computer Repairs check-up.
- Lost data due to a system failure? Our Data Recovery service can help you get it back.
- Wondering if you’ve maxed out your memory? Find out if Is 64GB of RAM Overkill? is something you should be asking.
- Using a Mac? Our team is also skilled in iMac Repairs and upgrades.
- If your system’s acting strange, find out How to Check If Your Computer Has a Virus before it’s too late.
Each of these articles covers important aspects of maintaining and improving your computer’s health—because keeping your system in top shape involves more than just BIOS updates.
Your Next Steps After a BIOS Update
Updating your Gigabyte motherboard’s BIOS is a powerful way to enhance your PC’s performance, improve stability, and ensure compatibility with the latest hardware. Just remember:
- Always back up your data
- Follow instructions carefully
- Use tools like Q-Flash or @BIOS wisely
And if things go sideways or you’d rather have peace of mind, don’t hesitate to reach out to us at Choicetel. We’re here to make tech less stressful and more reliable—for everyone from casual users to power builders.
Recent Comments